Color Grading Basics 💪 (Video and Graphics)
Oct 15, 2024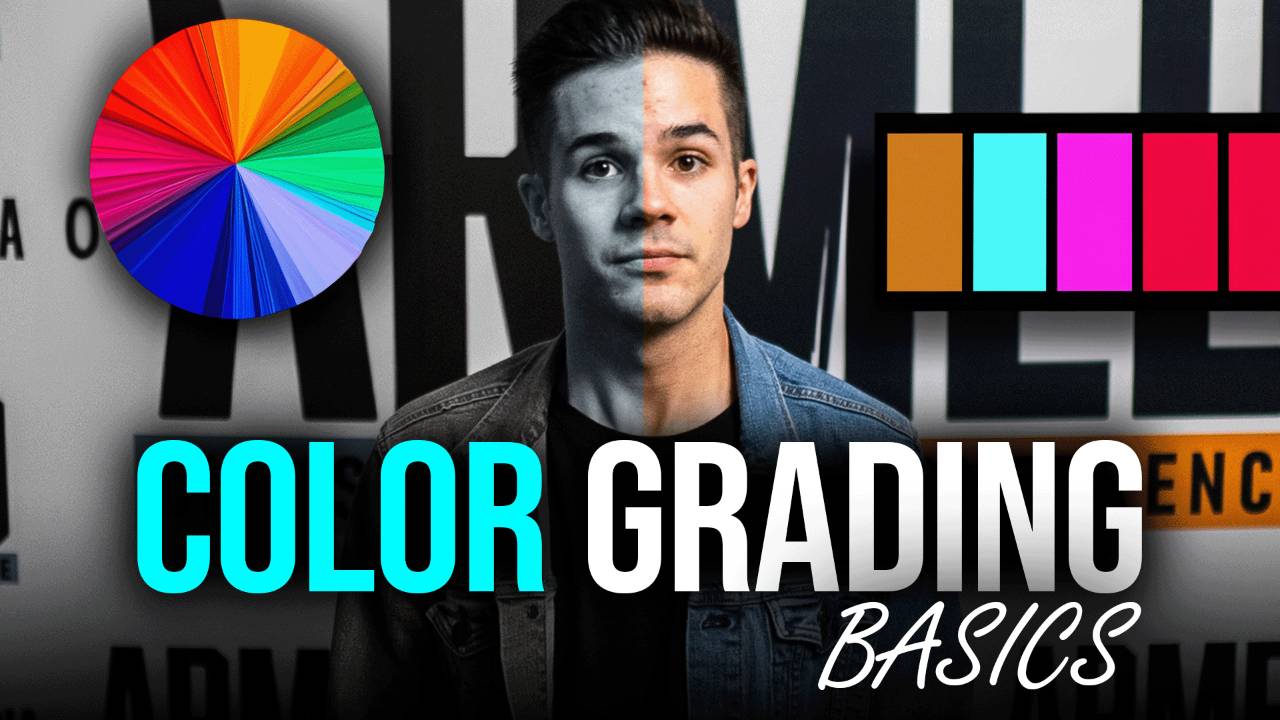
How to Color Grade Your Videos for Maximum Engagement
If you’re serious about creating videos that stand out, color grading is a game-changer. It’s the secret sauce that turns your footage from "meh" to cinematic. The right color grade doesn’t just make your video look better—it makes your audience feel something. Whether you're going for a moody, dramatic look or bright, vibrant vibes, mastering color grading is key to keeping your viewers engaged.
Here’s how to get started with color grading and make your videos pop.
1. Understand Color Correction vs. Color Grading
First things first—let’s clear up some confusion. Color correction and color grading aren’t the same thing. Color correction is about fixing issues in your footage (think exposure, white balance, or saturation). Color grading, on the other hand, is where the magic happens. This is where you craft the overall mood and style of your video.
2. Get Familiar with Your Tools
Whether you're using Adobe Premiere Pro, Final Cut Pro, or DaVinci Resolve, your editing software will have a range of color tools. But if you're just starting out, don't overwhelm yourself. Premiere Pro’s Lumetri Color panel is a fantastic place to begin. And if you want to take the guesswork out of color grading, a good LUT (Lookup Table) can help you achieve pro-level results with minimal effort.
(Speaking of LUTs, I’ve created a free LUT that you can download—more on that in a bit!)
3. Nail Your Exposure and White Balance First
Before you even think about color grading, make sure your footage is properly exposed and balanced. It’s like building a house: you can’t add the fancy finishes until the foundation is solid. Adjust your exposure and white balance to get a neutral starting point for your grade.
4. Start with a LUT (It’s Not Cheating, I Promise!)
If you’re new to color grading, a LUT is your best friend. It’s a pre-made color profile that can save you a ton of time and give your footage an instant lift. Once applied, you can still tweak the intensity or make finer adjustments to match your vision.
(Shameless plug: if you're looking for a simple, high-quality LUT that works for both Premiere Pro and Photoshop, you can grab mine for free. Plus, you’ll get a guide that shows you exactly how to apply it!)
5. Adjust Your Contrast and Saturation
After applying your LUT or doing some basic color grading, it’s time to fine-tune. Contrast helps your video feel more dynamic, while saturation enhances the richness of the colors. Be careful not to overdo it—subtle adjustments can often make the biggest impact.
6. Keep It Consistent
If you’re editing a video with multiple shots, consistency is key. Make sure your color grade matches across all your clips so that everything flows together. A jarring color shift between scenes can distract viewers and take them out of the moment.
Bonus Tip: Don’t Forget About Your Thumbnails
Thumbnails are where color grading really shines. A well-graded thumbnail grabs attention and draws people in, so don’t skip the grading here either. Our LUT works just as well for still images, helping you create thumbnails that pop.
Ready to Get Started?
Color grading doesn’t have to be intimidating, and it’s a crucial step in creating videos that engage your audience from start to finish. To make it even easier, I’ve put together a free LUT and a PDF guide that walks you through how to implement it in both Premiere Pro and Photoshop. You’ll find both available in the Members Library after you sign up.
Get the free LUT here: https://www.didiomedia.org/offers/FuABV2Kn/checkout
Let me know how it works for you, and happy editing!